Print Your Own Iron-on Transfers
Feb 14, 2022
Step 1: Figure out the design you wish to transfer
You are able to transfer a wide variety of designs. These might be images, comic illustrations, or word or phrase designs. To make sure this design will fit onto the shirt you want to print on, you might need to adjust it a little bit in Paint or Photoshop. To ensure the best possible transfer, make sure the final design is of the highest caliber. It's also crucial to remember that you should make your design in reverse so that it prints correctly when it's transferred onto the shirt.
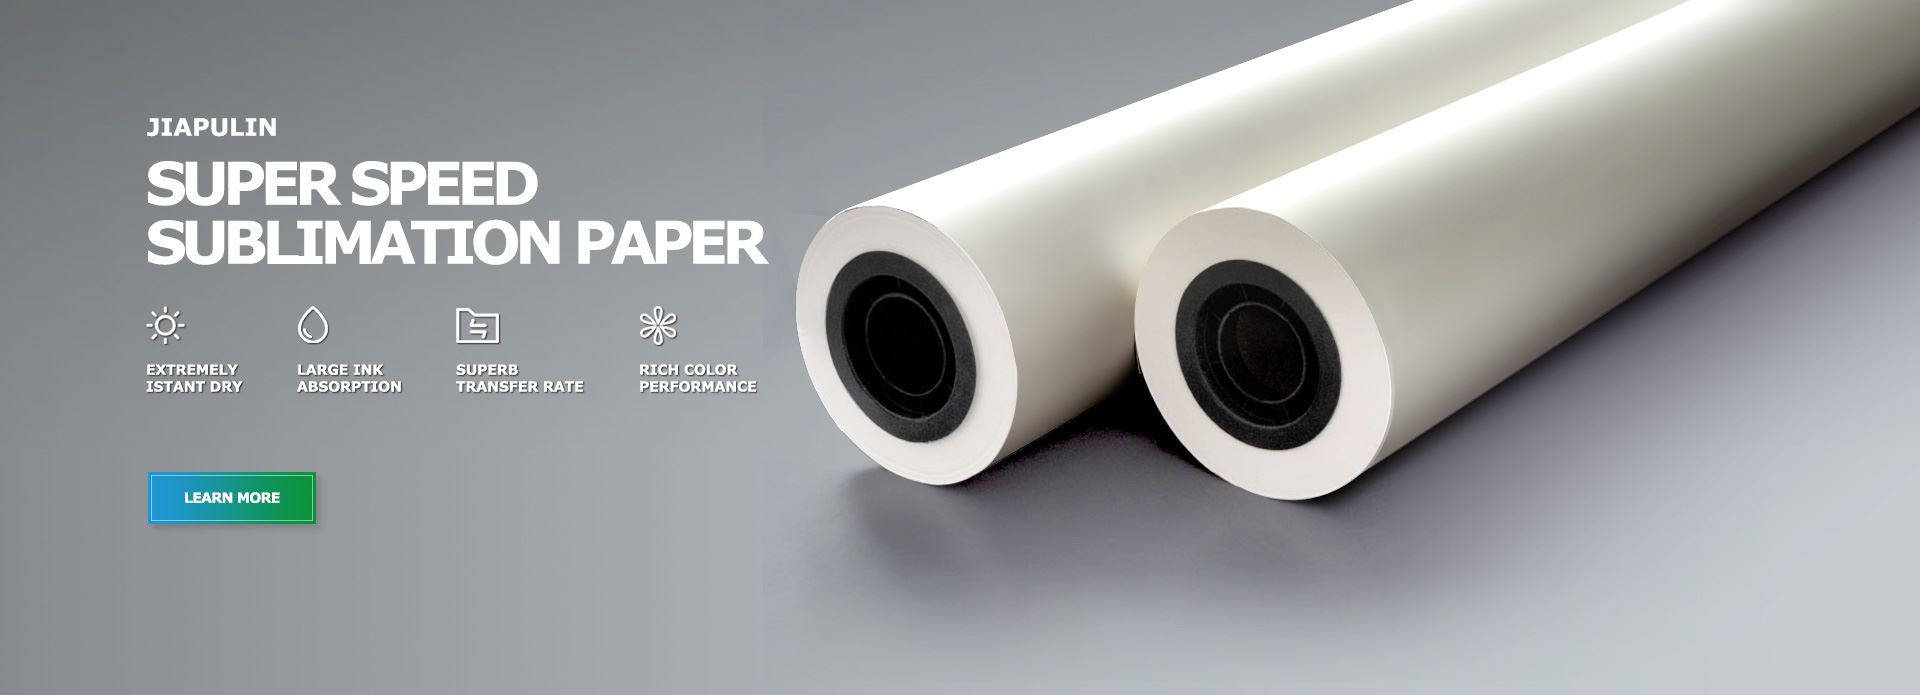
Step 2: Purchase transfer paper
After creating your design, you may determine the size of transfer paper required to finish it. Make sure the transfer paper you choose is appropriate for inkjet printers if you own one. While transfer paper is generally available in size A4, it is available in a range of sizes. Examine a variety of iron-on transfer papers to be sure you're getting a decent value.
Step 3: Select the item you wish to transfer the design onto
Though t-shirts are a common medium for transfers, you may use any suitable surface to apply your design. Making sure the object you want to transfer your design on is suitable with your transfer paper is the most crucial factor to take into account. Before completing your transfer, be sure that this is the case. If you are new to the world of iron-on transfers, we suggest starting with a plain white t-shirt.
Step 4: Print a preview of your design
Before you commit to printing your design onto transfer paper, consider printing it onto regular paper first to make sure it looks the way you want it to (but reversed, of course!). This can prevent wasted transfer paper, which tends to be more expensive than regular paper.
Step 5: Print Design
Now that your design is complete and you have your t-shirt, it's time to start printing! As directed by the instructions provided when you purchased the transfer paper, insert the paper into the printer. Usually, this paper contains stripes on the non-printing side to make sure it is simpler to align. Just as when printing a standard document, choose print. You should be able to hold your design in your hands after the procedure is complete, assuming you selected transfer paper that works with your printer. Make sure everything is in order, then if your design is smaller, trim it so that it can rest comfortably flat on a shirt (being careful not to cut too near to the design itself).
Step 6: Iron design onto the shirt
Make sure the placement of the transfer is just where you want it by placing it face-down on the shirt. The majority of transfer paper instructions advise placing a towel over the transfer before ironing, but it's a good idea to double check with the directions for the particular paper you used. Certain transfer papers include physical cues that indicate when you can stop ironing, while other directions will specify how long to do this procedure for. Reading the instructions that came with the transfer paper is crucial for this stage in order to make sure the transfer goes easily and completely. Remove the backing paper after application.
Step 7: Wash shirt
Once you have transferred your design onto the shirt and admired your work (letting the clothing cool down), it’s time to pop it in the wash. Turn the shirt inside out and give it a wash – it’s probably best to wash your garment on delicate. If you followed the instructions given by your transfer paper, then it should come out unscathed, ready to wear (or gift to a loved one).
Step 8: Wear your design (or give it to a friend or family member!)
Now that your design is complete, show off your work by trying it on! You may give the shirt as a wearable present to someone you designed it for. Well done for creating your one-of-a-kind, distinctive shirt!
And there you have it, folks—the eight easy steps to designing your own distinctive t-shirt from the comforts of home! After you become comfortable using the iron-on transfer technique, you may experiment with printing on other colored shirts (which frequently calls for different transfer paper) and perhaps even aprons!


